Proof of concept
Minimal hardware built to test whether the core technical idea works at all, before design effort is committed.
T · [CLIENT TO PROVIDE] E · [CLIENT TO PROVIDE]
Overview
The most expensive prototypes are the ones built without a question. They produce a board that mostly works, an inconclusive result and a schedule that has moved without the risk having moved with it.
We define what each prototype must prove before it is built: this power architecture under this load, this sensor chain at this accuracy, this interface at this data rate, this thermal behaviour in this enclosure.
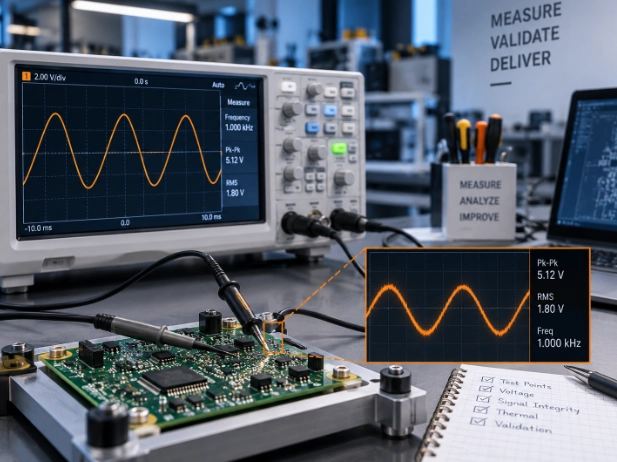
Prototypes are instrumented so the answer is measurable, and findings are written down. Over two or three iterations the design converges on something production-intent, with evidence behind every significant decision.
Prototyping scope
Different prototypes answer different questions. Mixing them up wastes iterations.
Minimal hardware built to test whether the core technical idea works at all, before design effort is committed.
A board implementing the intended architecture, used to verify behaviour across the real operating range.
Test points, monitoring and controlled conditions designed in, so results are data rather than impressions.
Hardware, firmware and mechanical elements brought together to expose the interactions between them.
Each revision driven by specific findings, with changes tracked so the reason behind every decision survives.
A prototype built the way the product will be built, used to validate the design against real assembly conditions.
Prototype process
Short cycles with a defined question at the start and a written conclusion at the end.
Stage 01
What this iteration must prove, and what result would count as success or failure.
Stage 02
Hardware scoped to answer that question, with the instrumentation needed to measure it.
Stage 03
Boards fabricated and assembled, with build notes captured for traceability.
Stage 04
Structured testing under controlled conditions, results recorded against the expected values.
Stage 05
Findings written up: what was proven, what was disproven and what remains open.
Stage 06
The next question defined from the findings, or the design moved toward production intent.
Instrumentation
Test points, monitoring and controlled conditions are designed into the prototype before it is fabricated, because a result you cannot measure is an impression.
Each iteration closes with a written finding: what was proven, what was disproven and what remains open.
Applications
Prototyping is risk reduction. It is most valuable where the unknowns are technical rather than commercial.
FAQ
How prototyping is usually scoped and what it delivers.
For a moderately complex product, two to three iterations before production intent is common. The number depends on how many unknowns exist at the start — which is exactly what the first iteration is for.
Yes. We can build and measure an existing design, which is often the fastest way to understand why it is not behaving as expected.
Working hardware, measured results against the questions defined at the start, a written findings summary and a clear design direction for the next step.
No. A prototype proves the engineering. Production readiness — documentation, test strategy, manufacturability, validation — is separate work, and we treat it that way.
Next step
Tell us what you need to prove. We will scope the smallest prototype that answers it.